How to take great photos and video of your work for your landscaping business
3 Jul 2023 Small Business Advice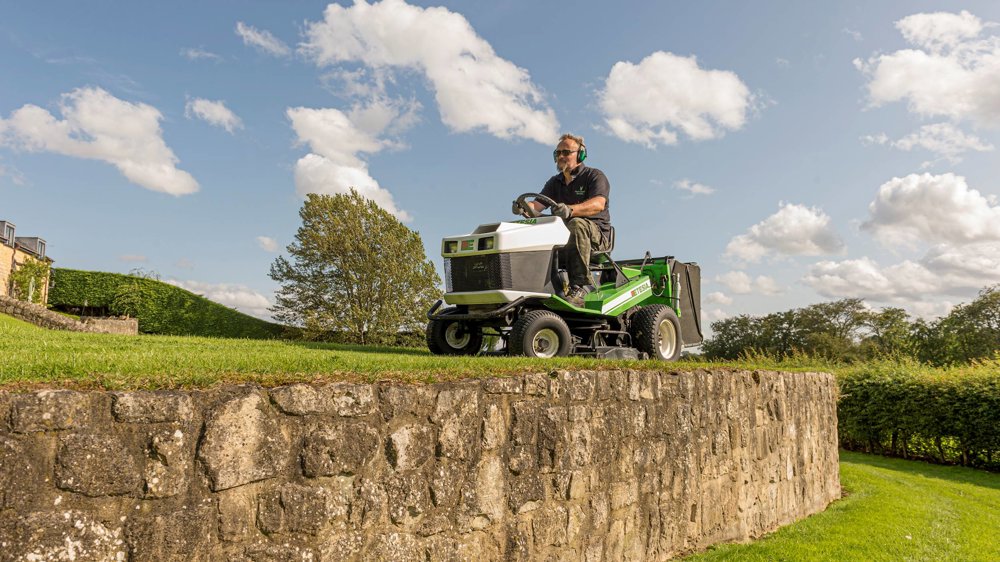
Capturing images of your work to advertise your landscaping business to potential customers is no longer a nice to have – it's a necessity. One of the best ways to do this as a landscaping business is by taking great photos and videos that can be shared to your social media, on your business website, or shown to prospective clients.
Landscaping is, after all, about creating aesthetically pleasing spaces for your clients to enjoy. A well-taken photo or a skilfully captured video of your work is a great tool to attract new customers. It establishes a sense of trust between landscapers and clients, as they can see the finished product of past work before they invest in your services. Showing can be more believable than telling!
The good news is that you don't need professional photographers, videographers or expensive equipment to create engaging content.
Here we set out some essential guidelines for creating incredible photos and videos that can give your landscaping business a boost.
How to take professional-looking photos
You don't always need a professional photographer to create photos that show off your landscaping achievements in the best possible light – both literally and figuratively. But you do want any photos you take to look professional so that new customers might be enticed to try out your services.
Here are handy tips to help you achieve just that!
Choose your subject
Try to think about what you might photograph before you arrive at a job – or at least before you complete the work – so that you can consider things like lighting and composition.
This will also help you to get the most out of a photography session as you may be able to make multiple posts from the same landscaping job.
Before and after shots are a great way to show off your skillset, and the impact your services can have. It’s therefore essential to take a photo of the location before you do any work to it. It sounds simple, but in the eagerness to get started, it’s an opportunity that may be easily missed.
Capture a shot of the machinery you frequently use alongside a caption of what it’s great for and the services it provides. If you have any new machines, make sure to take a photo of them and explain how they will expand your services.
If your client is willing, it can be a nice idea to capture a smiling photo of them with the finished job in the background. Pair it with a glowing quote and the photo can double up as a review of your work.
There’s no shortage of things you can photograph and by planning ahead you can make sure to capture them all.
Choose your equipment
- A DSLR (digital single-lens reflex) camera is a great tool that is beginner friendly and will give you professional-looking photos
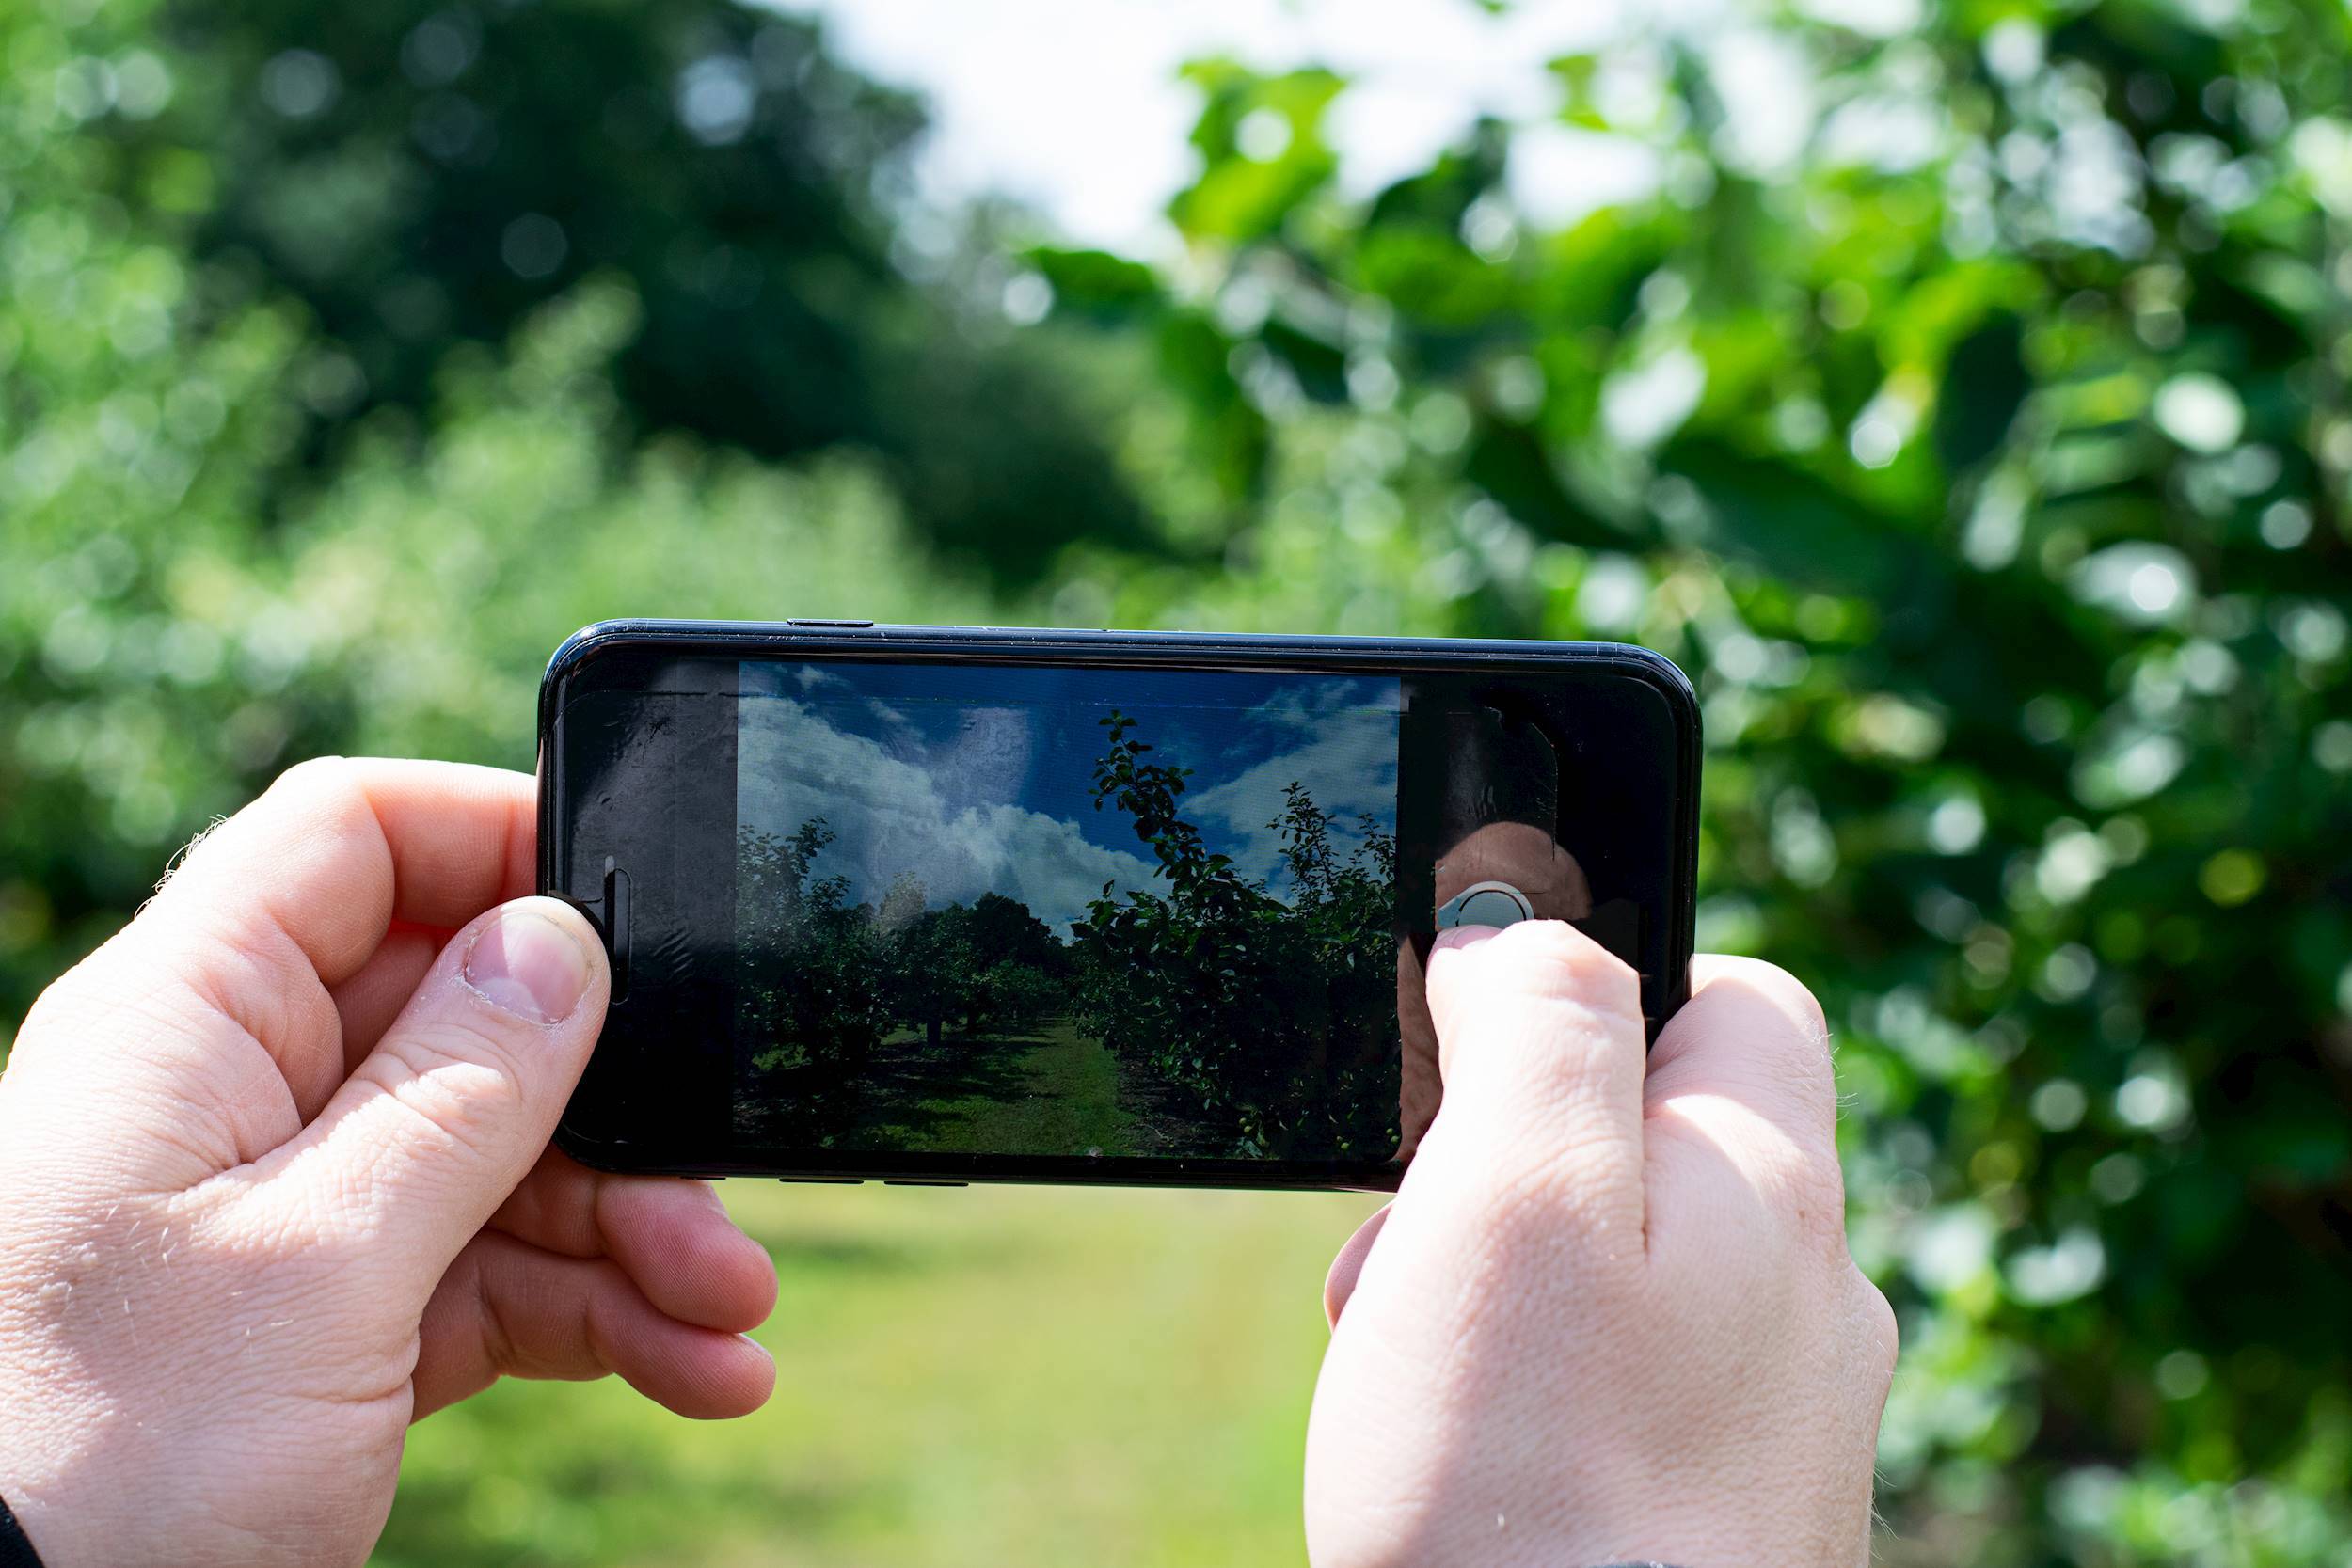
- A smartphone – in this day and age smartphone cameras are as good as a professional lens, so if you don't want to fork out on an actual camera, a smartphone is a handy tool to have
Take a look at the lighting
Good lighting is key when taking professional pictures. As a landscaper looking to photograph your work and services, it's safe to assume that the majority of your images will be taken outside.
This can be a good thing as the sun provides a natural light source so you won't have to invest in expensive photography gear or artificial light. Outside lighting does bring its own challenges, however.
Golden hour
It's a term that's used a lot in outdoor photography and is often considered the best time to capture amazing photos with natural lighting. It refers to the two to three hours before sunset and the two hours after sunrise when the sun is low and less likely to produce contrasting shadows.
Overcast skies
More than most, professional landscapers will know that sometimes you have to work with the weather to get a job done. When it comes to photographing your work, as long as there is enough light, cloudy skies can actually be a good thing.
Clouds will naturally filter the harshness of the sun, creating a softer light that can lead to beautiful shots of your landscaping work. So don't let grey skies stop you from snapping a picture.
Other lighting options
Due to busy schedules, it's not always possible to capture images during golden hour, and you can't always be lucky enough to shoot during an overcast day. So how do you use your blossoming photography skills to make the most out of your lighting whatever the weather?
Take photos in the shade. Direct sunlight creates incredibly hard light from overhead that can cast unwanted shadows and leave the finished product overexposed.
Block the light where possible either by shooting in the shade of trees and hedges or creating a makeshift shelter. When shooting something immovable, which may be the case if there's a particular part of the landscape you want to capture, try plenty of different angles to give you a choice later down the line, making sure to keep the sun behind you.
With the sun at your back, take note of where you’re standing so that your own shadow doesn’t cast across an otherwise lovely lawn. It can sometimes be helpful to crouch while taking the photo.
If images continue to show up as overly bright, remember they can always be tweaked in editing afterwards – something we'll cover shortly!
It's all in the rule of thirds
So you have your lighting and you know what you want to shoot, but how do you position a shot to make your work look great?
There's a quick fix available on any smartphone!
Open up your phone and turn on your 'grid' feature in your phone or camera settings. The grid will appear the next time you turn on your camera and will act as a visual guide in setting up your photo by dividing your screen into nine equal sections.
The idea is to use the lines on the screen to position the focal point (the most exciting thing in the image).
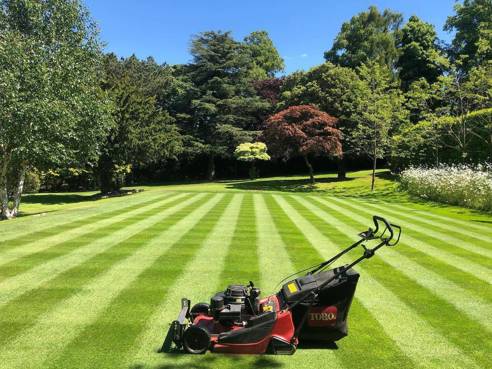
Pay attention to where the lines of your grid cross. This is where you want to position the focal point, whether that is a piece of machinery you want to feature or a particular part of a hedge or lawn where you want to draw the viewer's eyes.
Leading lines
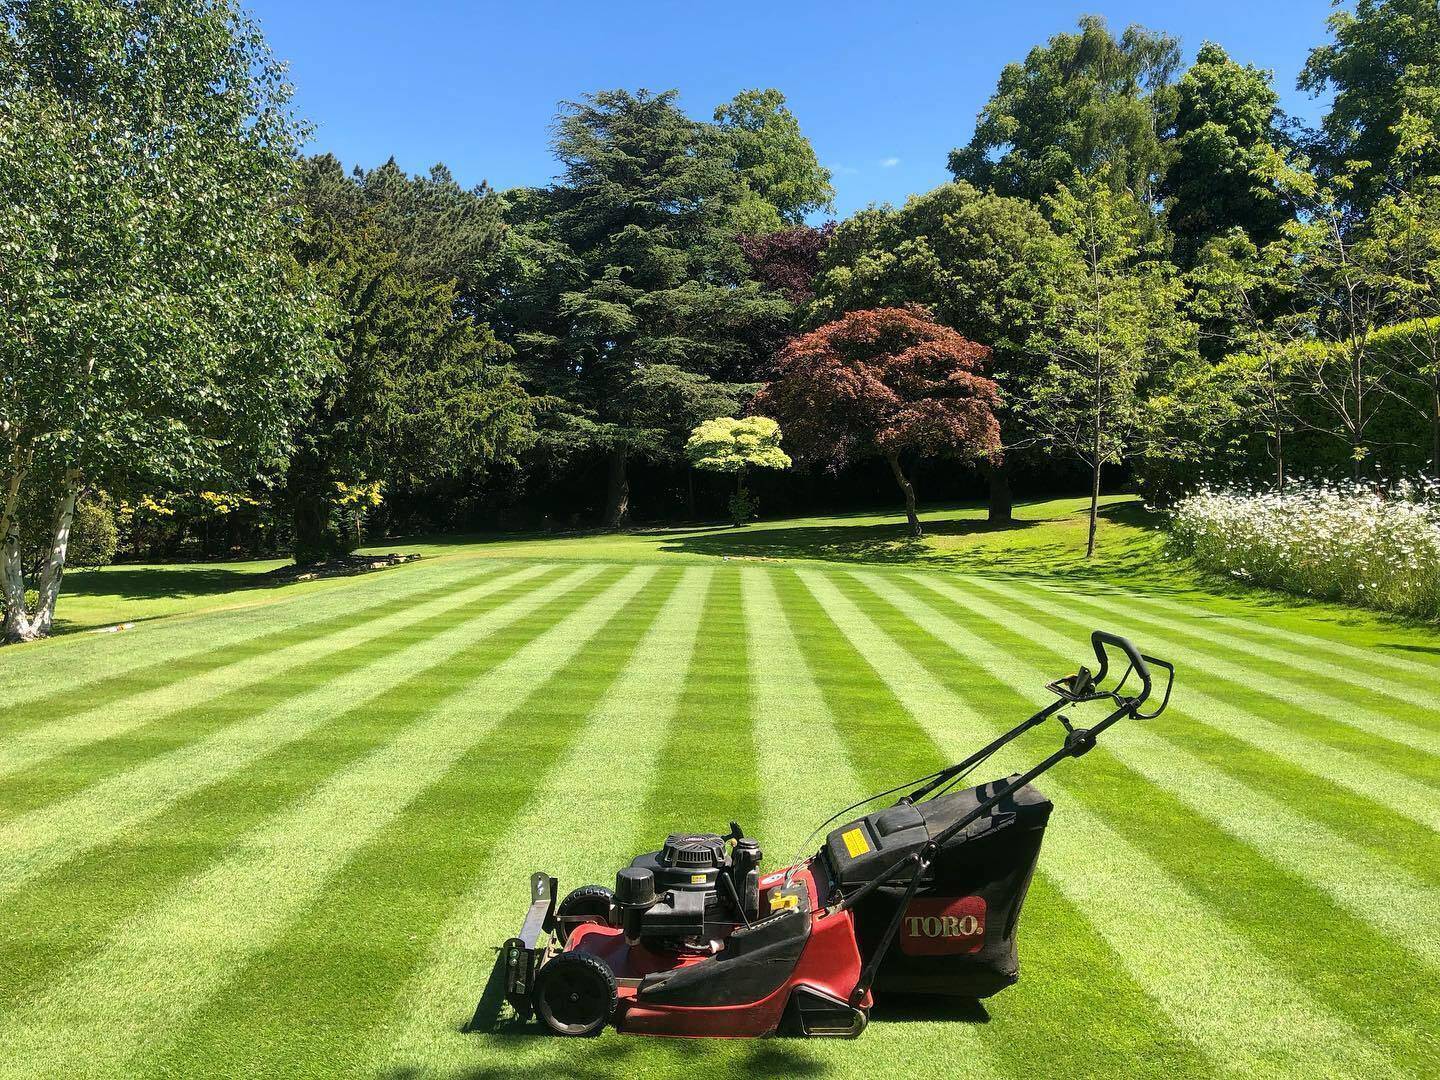
If you really want to impress with your photos and take your photography to the next level use your leading lines. This may be created by a fence or row of trees or even the line where the grass meets the sky.
They're anything that creates a line in your photo that can draw attention towards your focal point.
Edit your photos like a pro
Altering photos in post-production is an extra step that can elevate photos from looking amateur to professional. The photo editing process can be a daunting one for novice photographers but it doesn't have to be.
The key to professional-looking editing? Less is more.
In the age of digital media, customers can smell an inauthentic photo from a mile away, so it's important to use editing sparingly to enhance the appearance of the photo rather than the content within – that means no making grass superficially greener!
While Photoshop as an editing tool is a worthwhile investment for those looking to take their photography further, it's not essential for landscapers simply aiming to boost their social media or website content.
Lightroom is an app that can deliver high quality photos with minimal experience needed and can be used to edit photos directly from your phone.
The most important things to consider when editing your photos are:
- Cropping – crop out unimportant background details that distract from the focus
- Exposure – make the photo as bright as you want it. Decrease exposure for photos taken on particularly sunny days, and increase contrast if your photo is looking too dark
- Contrast – the range of light and dark tones in your photo. When starting out, keep your contrast in the middle range
Three things to avoid
- Flash – using the camera flash will leave images overexposed
- Using the front camera aka the 'selfie camera' – the back camera on your phone will deliver much better quality photos and videos of your work. That being said, there’s no harm in taking the odd selfie too. After all, you are promoting yourself too!
- Forgetting the background – be aware of background elements that conflict with your messaging eg patchy grass or untrimmed hedges. If they exist, crop them out!
Start shooting!
You won't get a perfect shot every time, so it's best to get as many as possible while on the job. Try out different angles and pick the ones you like best when you get home.
Things to consider when taking a video of your work
In today's world, video content is essential to growing a business. Both search engines and social media platforms place a high value on this kind of content, making it a great way to get your landscaping services in front of new potential customers.
Like photography, video creation is a skill that can be developed at home and with the equipment you likely already have, such as a smartphone.
Many of the rules for photography also apply to videos, such as consideration of subject, lighting and composition. But there are also a few more things to think about when it comes to video.
Keep it interesting
Potential customers should spend longer watching a video than they do looking at a photo. Videos are therefore a great way to market your business and tell your audience a bit more about what you do, whether that's by standing in front of the camera and talking to them or letting your work speak for itself.
Either way, to keep their attention you need to keep it interesting. Here are some ideas:
- Before and after – these types of videos do exceedingly well on social media and show off the incredible impact a professional can have on a landscape. They’re also a great way of telling a story. Use a timelapse to show the landscaping process from start to finish
- Capture different angles – the great thing about video is that it can show more than a photo. Show off your work from multiple viewpoints. Zoom in on interesting details like the cut of the grass as you talk through what technique or machine you used
- Film the action – where possible don't just film the finished product. Potential customers want to see you in action, and adding a person to your video instantly makes it more eye-catching. Use a tripod or DIY stand to hold your camera, and film yourself mowing the lawn or using a brushcutter

Check the audio quality
It's not just movement that sets video apart from photography, it's sound too. Audio is another component of video that you need to think about when shooting videos of your work.
Nothing ruins an otherwise beautiful landscape shot more than distracting background noise. Some background audio might even make your footage unusable, so ensure you think about the sound of your video as much as the look.
Check your clients aren't having a private conversation in the background of your footage, or if you're working in a public space be aware of others using the area to ensure you don't pick up any unwanted sound like yelling or profanity.
Here are some of our top tips to get great audio:
- Film in a quiet location where you can
- Avoid echoes by avoiding locations with lots of hard surfaces
- If planning to speak in your videos, invest in a microphone that will cancel out wind and traffic
- When speaking, stay close to the microphone whether that be the one built into your camera or an added addition
If you only realise your video has poor audio quality after the fact, you can always replace the raw audio with music – most social media platforms will have royalty free options for you to choose from.
Editing your video
Even more so than with a photo, editing is essential for videography. You may collect an hour's worth of video showing off your work or educating your audience, but that doesn't mean potential customers need to see all of that.
Here are some of the basics you need to know:
Video editing software
There are plenty of apps available including iMovie, CapCut and Inshot that are easy to navigate and can edit videos of any length for any platform. Even better, there are lots of tutorials on YouTube on how to use them.
Jump cuts
Jump cuts are the easiest way to edit down a video and make your content more watchable. Cut out repetition, awkward pauses or moments that aren't relevant to the video. Viewers have short attention spans, so keep your video to the point.
Video length
There's no hard and fast rule as to what length your video should be, and you should research the exact requirements for the platform your video is going on. But a general rule of thumb is that if it's going on social media, try to keep it under the one minute mark. For videos going onto your website or onto YouTube, they can afford to be a bit longer, though 10 minutes is a good limit to set.
The finished product
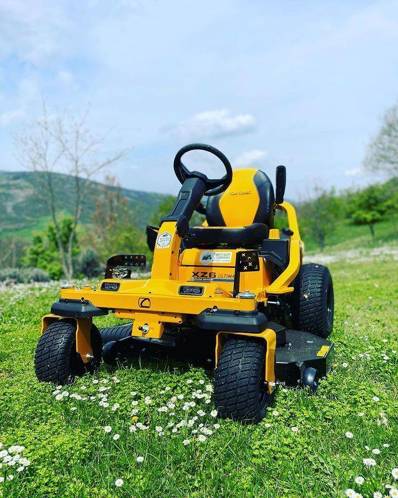
Whether it's a photo or a video you're taking, to show your business in the best possible light make sure you're using the best possible machinery for the job. Powered by Kawasaki machines provide reliably clean cuts and quality finishes that look pristine even when photographed up close, setting you up for the highest chance of success when it comes to marketing your landscaping services online.
Now you have great photos and videos of your work, it's time to put them to use. Check out our one year marketing plan for small businesses to see how you can use your content for maximum effect to draw in new customers and impress the ones you already have.
Share your photos or video with us
If you use any of our advice we’d love to see it! Share your work with us via our social media, we can’t wait to see your amazing work.
You may be interested in
-
How to attract employees during a labour shortage in the landscaping industry

-
How to avoid business owner burnout

-
Social media post ideas for your landscaping business

-
Living the life of a landscaper – the physical and mental considerations

-
Essential tools for landscaping businesses

-
Small business marketing for landscapers: your 1 year marketing plan


